We're sorry
There was an error adding this product to your cart. Please close this window and try again.

Inspired? Create and share by tagging @hallmarkstores.
You’ll start with your foam wreath form, and yarn. Start on what will become the back side of your wreath and add a strip of double-sided tape. Tie the tail of your yarn around the wreath tightly. This will keep it from sliding around while you wrap your wreath.
Continue to wrap your yarn around and around the wreath form, making sure to leave no foam showing. Tip: You can use more than one color of yarn to make stripes around your wreath. Wrap evenly around the entire wreath form. When you get to the end, tie it off with another snug knot.
Add your felt flowers, as many as you’d like, in whatever configuration you choose. The instructions for each type of flower are included below and in the printable flower template.
An optional bunny template is also included. To make the bunny, print and cut out the template, place on fabric folded right sides together, and cut out the 2 fabric pieces. Sew fabric pieces together using a standard ¼-inch inseam. Allow a space along the bottom for turning and stuffing. Clip curves, especially around ears for easier turning. Turn right side out. Stuff bunny and hand stitch opening closed. Attach the bunny with a line of hot glue along bottom of wreath, behind flowers.
Print provided templates and use scissors to cut felt pieces to size around the border. Tip: For bigger flowers, just make length longer, and then when you roll up the flower, it will get larger.
Fold in half (where the dotted line as shown) and run a bead of hot glue down the long side and press together.
Run another bead of hot glue along the bottom edge and roll flower closed.
Print provided templates and use scissors to cut felt pieces to size. Tip: The sharper the scissors, the easier it will be to cut through felt.
Drop a bead of hot glue at the fold line of each petal and fold petal in half, pressing together to give the petals their shape.
Start with the large petals and glue down evenly around the edge of the backer piece. Then layer the medium petals down. Finish by adding the layer of the small petals.
Print provided template and use scissors to cut felt pieces to size around the border. Two sizes are provided so you can add variety to your project. For fuller roses, cut out additional petals using the section of the templates indicated with a dotted line.
Start at the center and run small drops of hot glue around the straight edge, roll tightly and hold for a few seconds while the glue dries.
Print the provided templates, then use scissors to cut out leaf shapes from your felt. Use the leaves around your flowers to fill in areas and add a special touch. Tip: Use pinking shears for a fun look.
Cut strips of your favorite fabrics 1 inch wide and 8 inch long. Tip: Pattern fabrics or stripes are fun for this, because they look totally diff erent after being twisted.
Start at one end and begin twisting your fabric strip. Tip: Try to tuck in the raw edges as you go for a more finished look. Every inch or so drop a bead of hot glue to hold your twist together. Continue to twist your fabric and glue down to the edge of the previously glued part. A circle will begin to form. Tip: The bigger you want your rosette, the longer the piece of fabric you can use.
When you get to the end, take the last tail of fabric and tuck around the back. Glue end down to the ‘wrong’ side of your rosette.

Learn about the Bloody Mary and how to set up a Bloody Mary bar.
You’ve made your ofrenda (altar), hung your papel picado (paper banners), and decorated your calaveras de azúcar (sug...
Learn how to write a love letter from the experts at Hallmark.
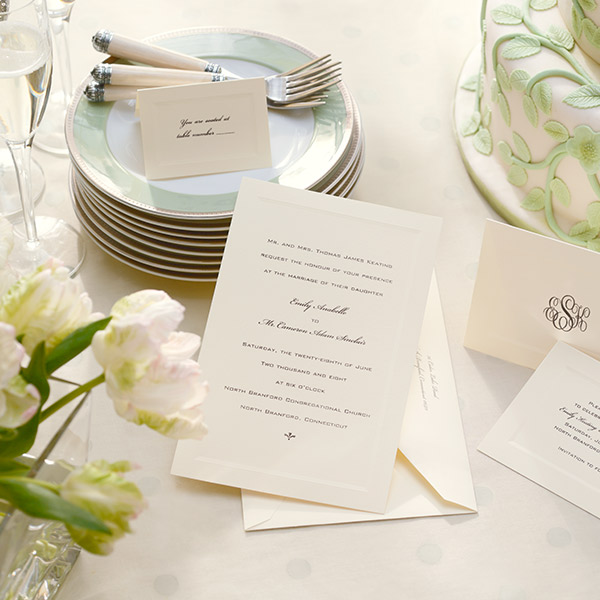
Here’s a list of etiquette conventions for how to address wedding invitations to everyone on your guest list.
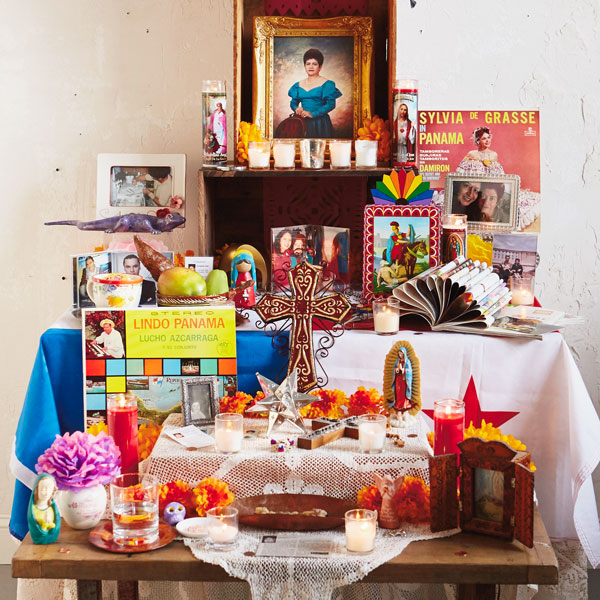
How to make a Day of the Dead altar, featuring the heartfelt story of a Hallmarker.

When an in-person watch party isn’t an option, a virtual watch party is a great way to close the distance.
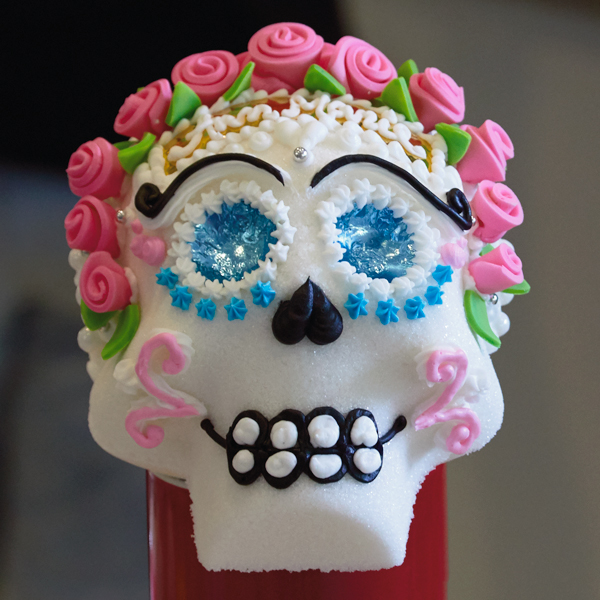
Calaveras de azúcar—literal sugar skulls—are beautiful pieces of Día de Muertos (Day of the Dead) rituals and tradition.
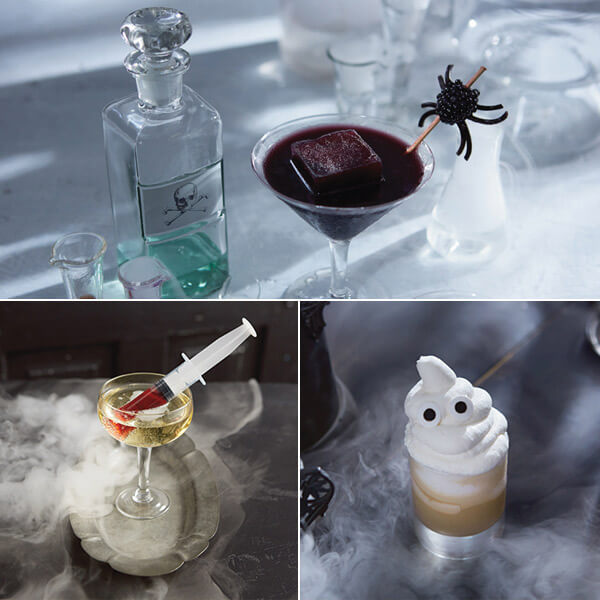
Time to gather together for some frightfully good fun this Halloween. And while you’re greeting your ghosts and guest...

It’s so exciting when someone you know welcomes a child into their lives, whether by birth, adoption, or fostering. Y...
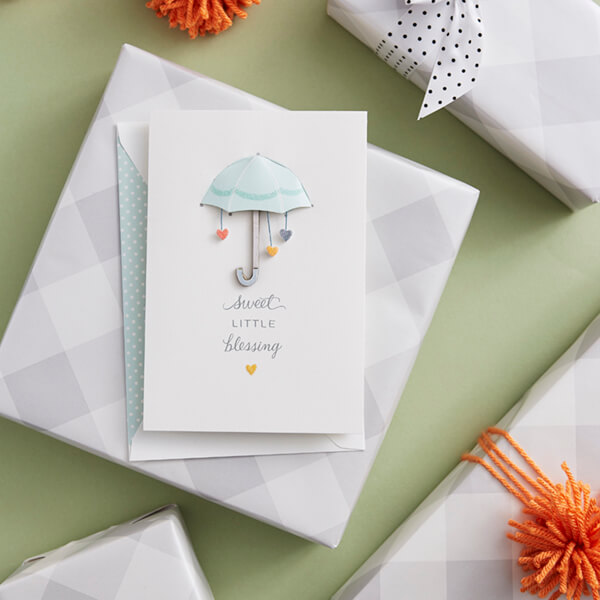
Of all the kinds of parties there are, baby showers are pretty much the sweetest. And the cutest. And the most likely...
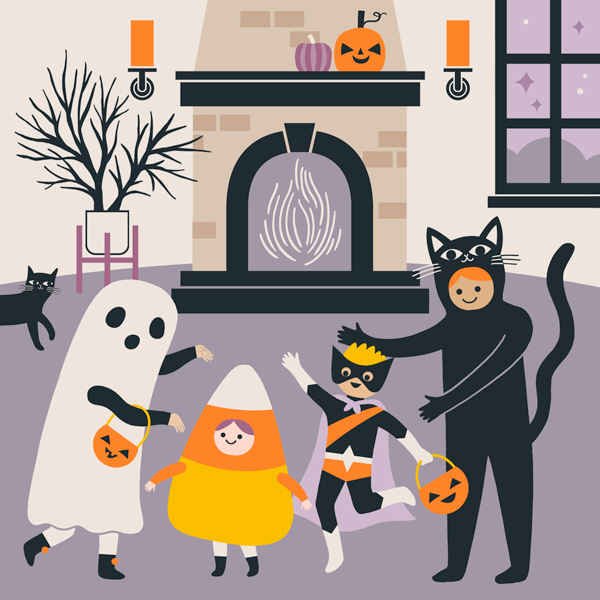
So many of my favorite childhood memories are of Halloween family fun: sorting and trading candy with my sister, dres...
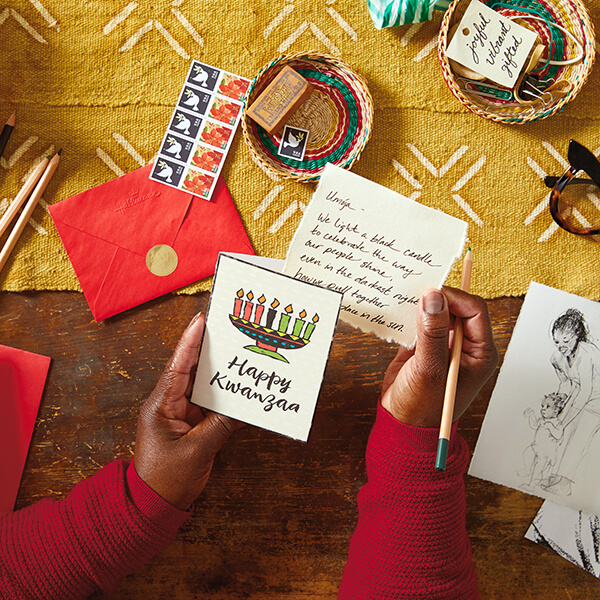
Kwanzaa, a festival of lights rich in African symbolism, takes place each year from December 26th through January 1st...

Geeking out is a good thing! Take it from Keepsake Artist Orville Wilson, as he shows how he brought his ornament to ...

Hear memorable lines from Schitt’s Creek® with this ornament featuring Moira Rose. You can pick it up beginning Octob...

Relive the challenge of travel to the old West in the computer game “The Oregon Trail,” with this ornament f...
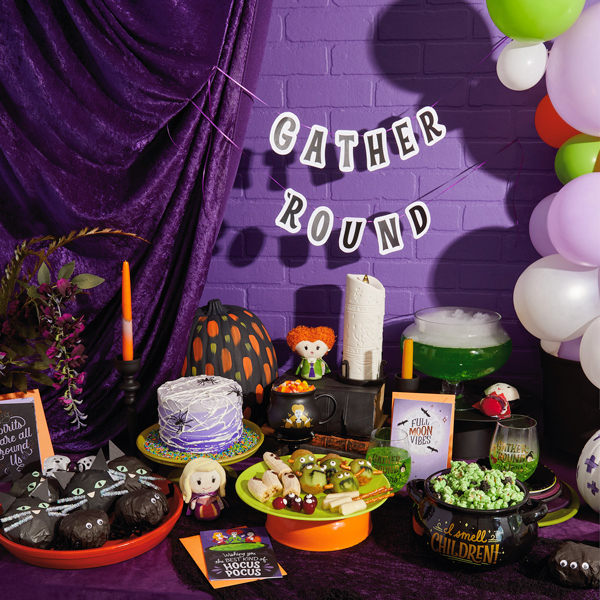
As kids, me and my cousin stayed looking for a quick scare. We could be found standing in a dark bathroom reciting th...
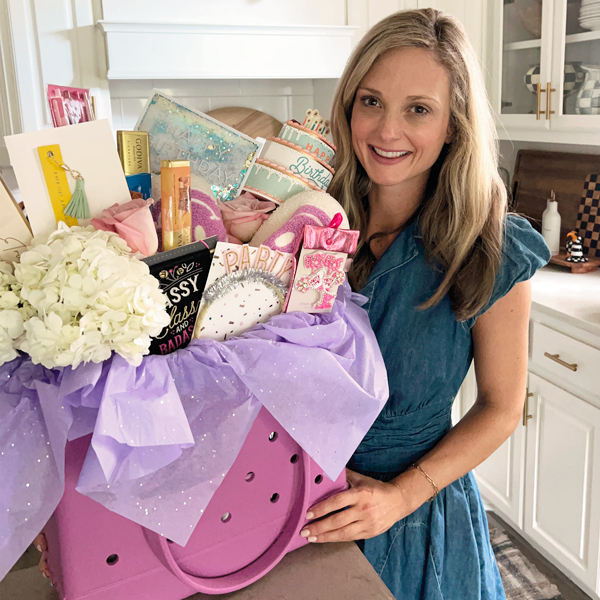
Here’s a fun fact: the first record of a surprise party dates back to 1840 as found in the writings of Irish novelist...
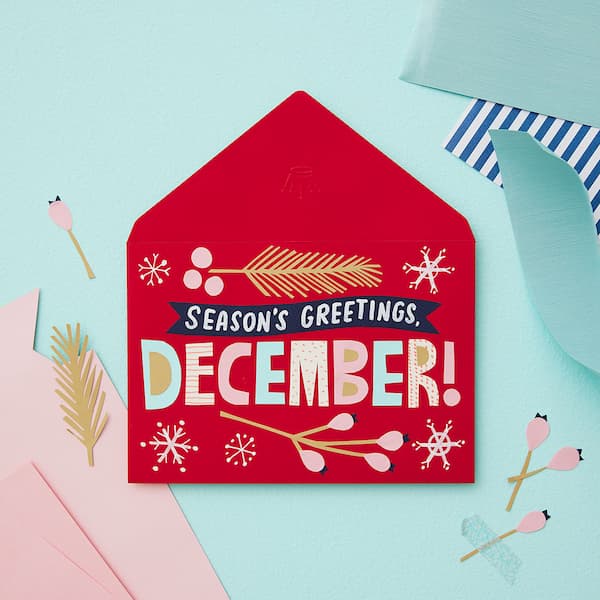
Whichever holidays you celebrate, whatever your traditions and whoever you call family, December is a month full of m...
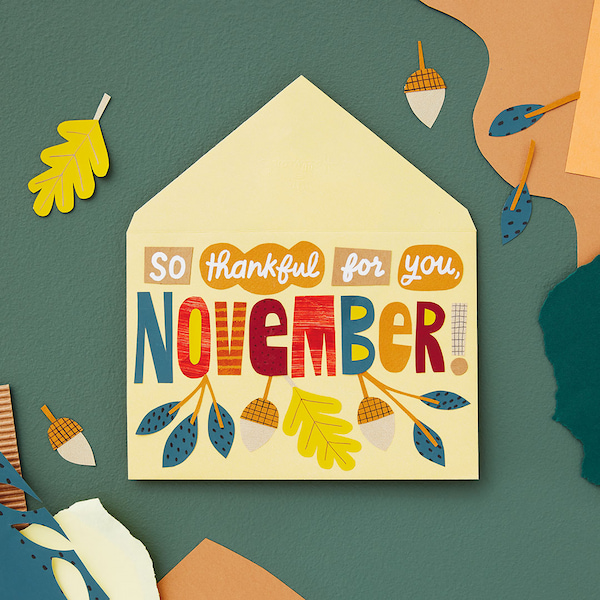
Get info, ideas and inspiration for November holidays and observances, plus free sharable desktop and smartphone wall...
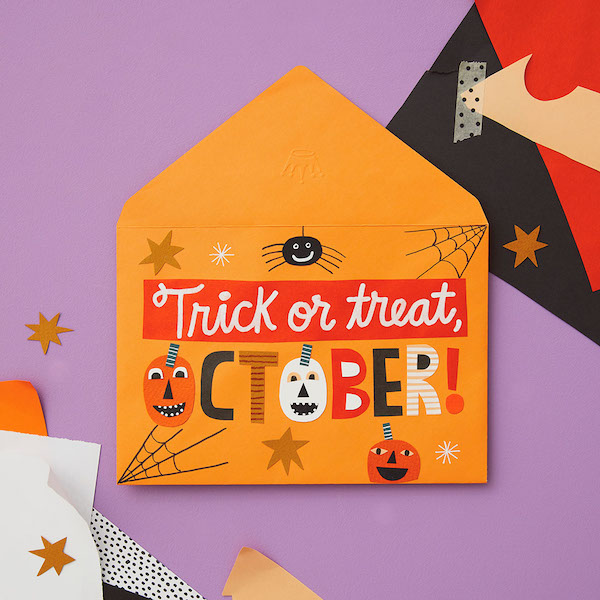
Get info, ideas and inspiration for October holidays and observances, including free sharable quotes and digital wall...